
Introduction
Photovoltaic (PV) systems are becoming increasingly popular as a clean and sustainable energy source. One crucial component of a PV system is the cables used to connect the various components together. Proper installation of PV cables is essential to ensure the efficient operation and longevity of the system. In this comprehensive guide, we will cover everything you need to know about PV cable installation, including types of cables, best practices, safety considerations, and troubleshooting tips.
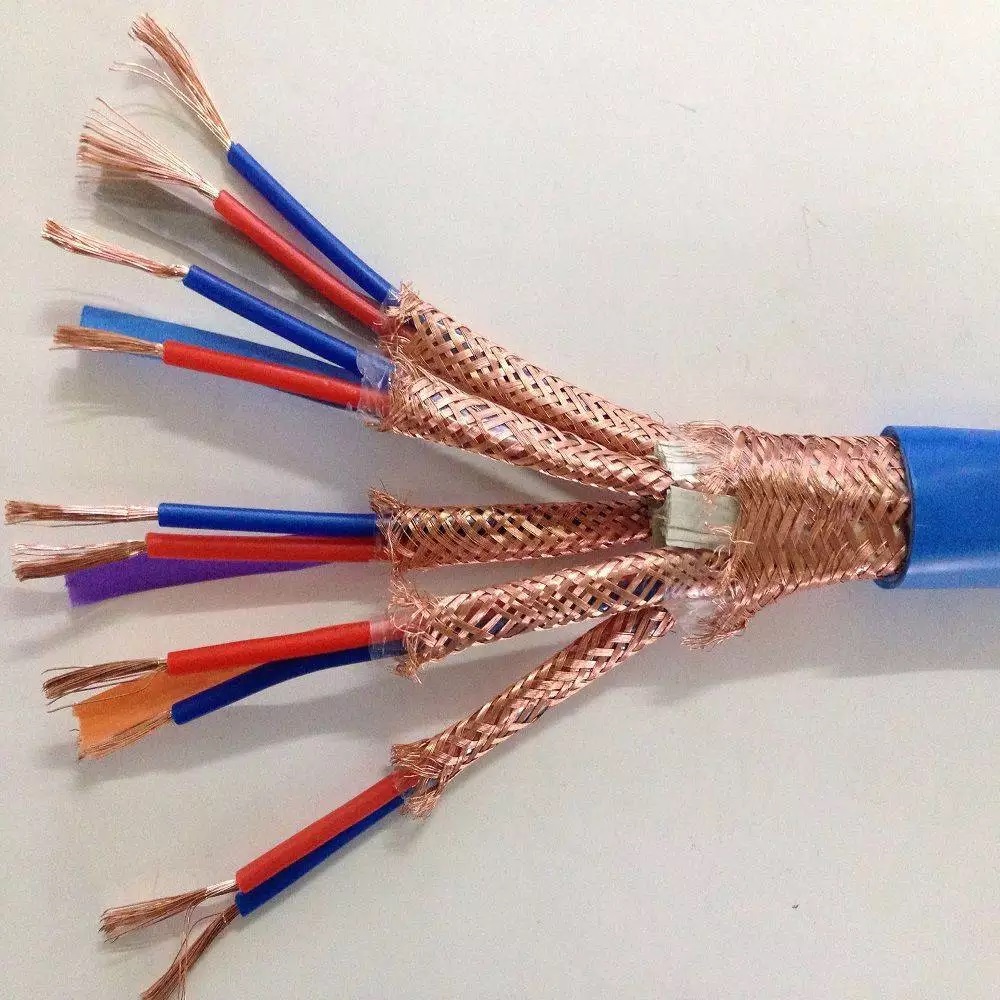
Types of PV Cables
There are several types of cables used in PV systems, each serving a specific purpose. Understanding the differences between these cables is crucial for proper installation.
1. Photovoltaic Wire (PV Wire): PV wire is specifically designed for use in PV systems. It is typically rated for outdoor use and can withstand exposure to sunlight and harsh weather conditions. PV wire is available in various sizes, with the most common being 10, 12, and 14 gauge.
2. Photovoltaic Cable (PV Cable): PV cables are used to connect the solar panels to the charge controller, inverter, and other components of the PV system. These cables are typically larger in size compared to PV wire and are available in different configurations, such as single-conductor and multi-conductor cables.
3. Direct Burial Cable: Direct burial cables are used for underground installations where the cables need to be buried in the ground. These cables are designed to withstand moisture, soil conditions, and other environmental factors.
4. Tray Cable: Tray cables are used for connecting components within the PV system, such as inverters, charge controllers, and batteries. These cables are often installed in conduit or cable trays for protection.
Best Practices for PV Cable Installation
Proper installation of PV cables is essential to ensure the safety and performance of the PV system. Here are some best practices to follow when installing PV cables:
1. Plan the Layout: Before starting the installation, carefully plan the layout of the PV system, including the placement of solar panels, inverters, batteries, and other components. This will help determine the cable lengths and routing paths.
2. Use Proper Cable Sizing: It is crucial to use the correct size of cables for the various components of the PV system. Undersized cables can lead to voltage drop and reduced system efficiency, while oversized cables can be costly and difficult to work with.
3. Minimize Cable Lengths: Keep cable lengths as short as possible to reduce voltage drop and improve system efficiency. Avoid unnecessary loops and twists in the cables, and route them in a straight line whenever possible.
4. Use Proper Connectors: Use high-quality connectors that are compatible with the cables and components of the PV system. Make sure to crimp the connectors properly to ensure a secure and reliable connection.
5. Secure Cables Properly: Use cable clips, ties, or clamps to secure the cables in place and prevent them from being damaged by wind, animals, or other external factors. Avoid sharp bends or kinks in the cables, as this can lead to insulation damage.
6. Label Cables: Properly label all cables and connectors to make troubleshooting and maintenance easier in the future. Include information such as cable type, gauge, length, and connection points.
Safety Considerations
Safety should always be a top priority when working with PV cables. Here are some important safety considerations to keep in mind during the installation process:
1. Turn Off Power: Before working on any part of the PV system, make sure to turn off the power supply to prevent electrical shocks or accidents. Follow proper lockout/tagout procedures if necessary.
2. Wear Personal Protective Equipment (PPE): Wear appropriate PPE, such as gloves, safety glasses, and insulated tools, to protect yourself from electrical hazards and injuries.
3. Check for Ground Faults: Use a multimeter to check for ground faults in the PV system before connecting the cables. Ground faults can pose a serious safety risk and should be addressed immediately.
4. Follow Manufacturer's Instructions: Always follow the manufacturer's instructions and guidelines for installing and connecting PV cables. Rubber Sheathed Cable can void warranties and compromise the safety of the system.
Troubleshooting Tips
Even with careful planning and installation, issues may arise with PV cables over time. Here are some common troubleshooting tips to help diagnose and resolve cable-related problems:
1. Check for Loose Connections: Inspect all cable connections for signs of looseness or corrosion. Tighten any loose connections and clean the terminals if necessary.
2. Measure Voltage Drop: Use a multimeter to measure the voltage drop across the cables and connectors. Excessive voltage drop can indicate undersized cables or poor connections.
3. Inspect for Damage: Inspect the cables for any signs of damage, such as cuts, abrasions, or exposed wires. Replace any damaged cables immediately to prevent electrical hazards.
4. Test Continuity: Use a continuity tester to check for continuity in the cables and connectors. A lack of continuity indicates a break in the circuit that needs to be repaired.
Conclusion
Proper installation of PV cables is crucial for the efficient operation and longevity of a solar energy system. By following best practices, safety considerations, and troubleshooting tips outlined in this guide, you can ensure a reliable and safe installation of PV cables. Remember to consult with a professional electrician or PV installer if you encounter any issues or have questions during the installation process. With careful planning and attention to detail, you can enjoy the benefits of clean and sustainable energy from your PV system for years to come.